Transfer iPhone Music to Mac: Every Method Ranked
Apple makes it frictionless to push music from Mac to iPhone, but the reverse direction is a different story. Transferring iPhone music to Mac involves at least four distinct methods, each with its own scope, cost, and failure points. This guide covers every realistic route, ranks them by use case, and flags where things go wrong.
Why Is Transferring iPhone Music to Mac So Difficult?
The short answer: Apple’s ecosystem is built around subscription access and DRM protection, not local file ownership. Three technical factors create the friction you experience, and the music type you are trying to move determines which method will actually work.
Before attempting any transfer, identify which category your music falls into.
- Purchased iTunes Store tracks are DRM-free AAC files you own outright. Finder and most third-party tools can access these.
- Apple Music downloads carry FairPlay DRM tied to your subscription. They exist on your device as protected files that cannot be exported by any tool, including paid ones. Sync Library is the only supported path for this content.
- Sideloaded files (MP3s, FLACs, WAVs added manually) are unprotected and accessible via Finder, AirDrop, VLC, or third-party apps.
- Voice memos and other app audio sit in sandboxed app containers. Finder does not surface these; iMazing does.
Apple’s native tools handle purchased and sideloaded tracks through Finder, and subscription content through iCloud. Everything else requires a third-party solution. Knowing your music’s origin before you start saves significant troubleshooting time.
How to Transfer Music Using Apple’s Native Tools: Sync Library and Finder
Apple provides two native paths for moving music between iPhone and Mac. Sync Library handles Apple Music subscription content wirelessly. Finder handles purchased and sideloaded tracks over a wired connection. Neither covers every scenario, but together they address the majority of use cases for current hardware.
Sync Library (Apple Music Subscribers)
Sync Library is an iCloud feature that automatically mirrors your entire Apple Music library, including playlists, across every device signed into the same Apple ID. When you add a track on iPhone, it appears on Mac within minutes, and vice versa.
To enable it on Mac, open the Music app, go to Music > Settings > General, and check “Sync Library.” On iPhone, go to Settings > Music and toggle “Sync Library” on. Both devices need an active Apple Music subscription (currently $10.99/month for individual) and enough iCloud storage for your library metadata.
One limitation matters here: Sync Library does not download audio files to your Mac by default. It syncs access, not files. To store tracks locally on Mac, open the Music app, right-click a track or album, and select “Download.”
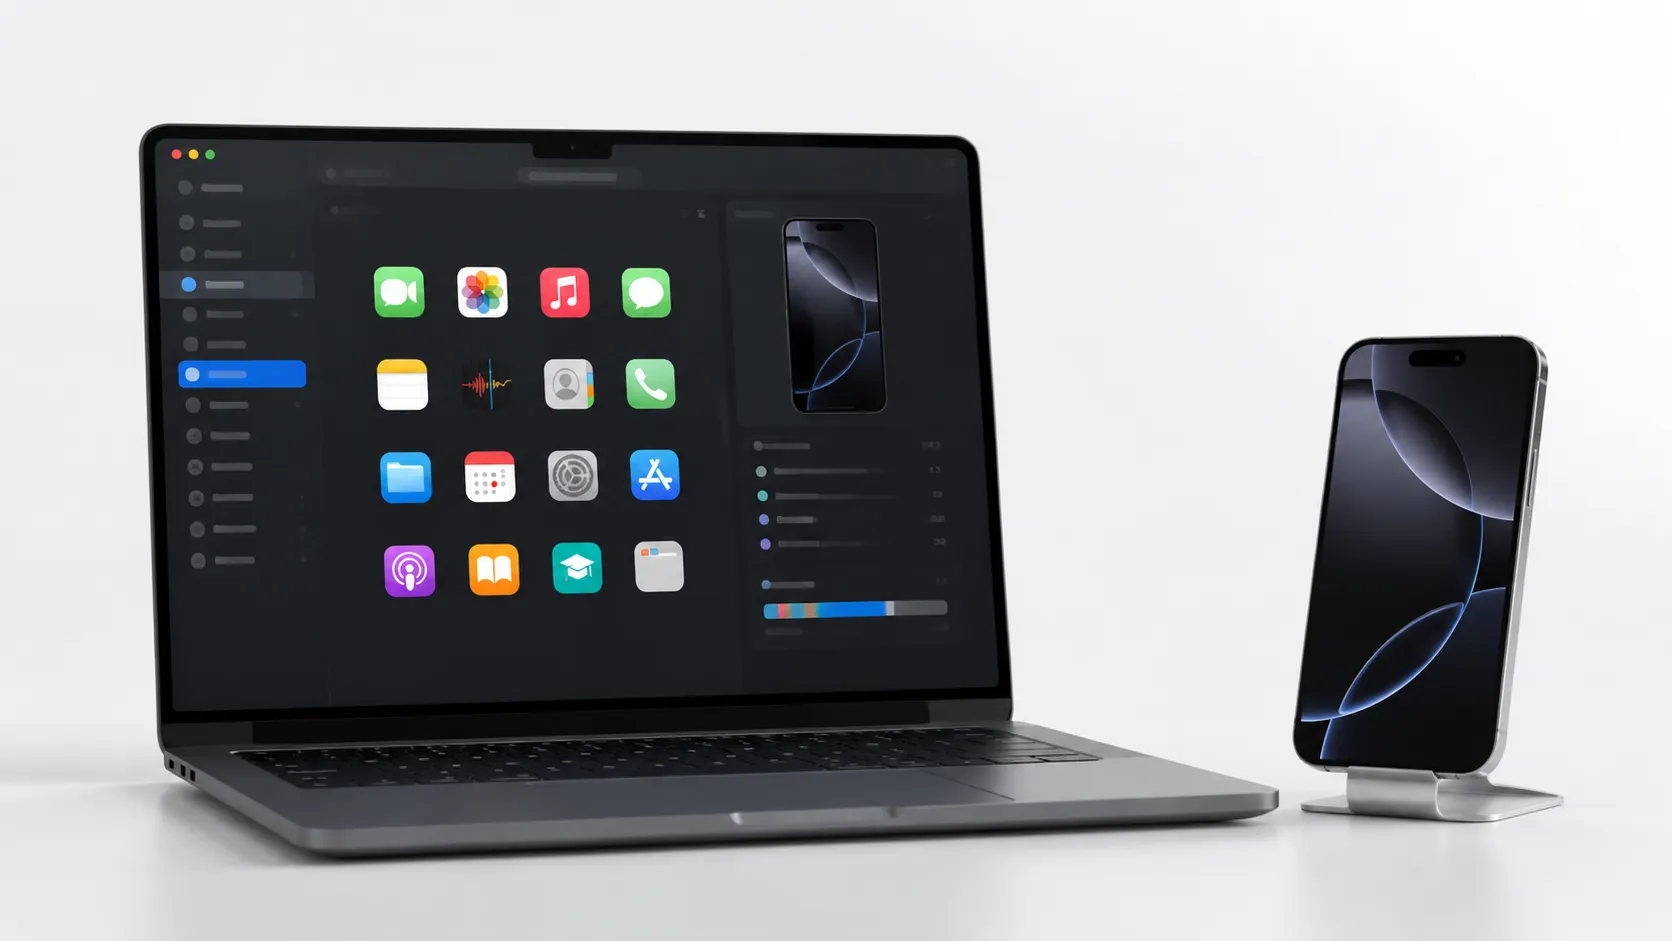
Finder (macOS Catalina 10.15 and Later)
Finder replaced iTunes for device management starting with macOS Catalina 10.15. It handles purchased iTunes tracks and files you previously synced from your Mac, but it does not export Apple Music streaming content.
Step-by-step transfer via Finder:
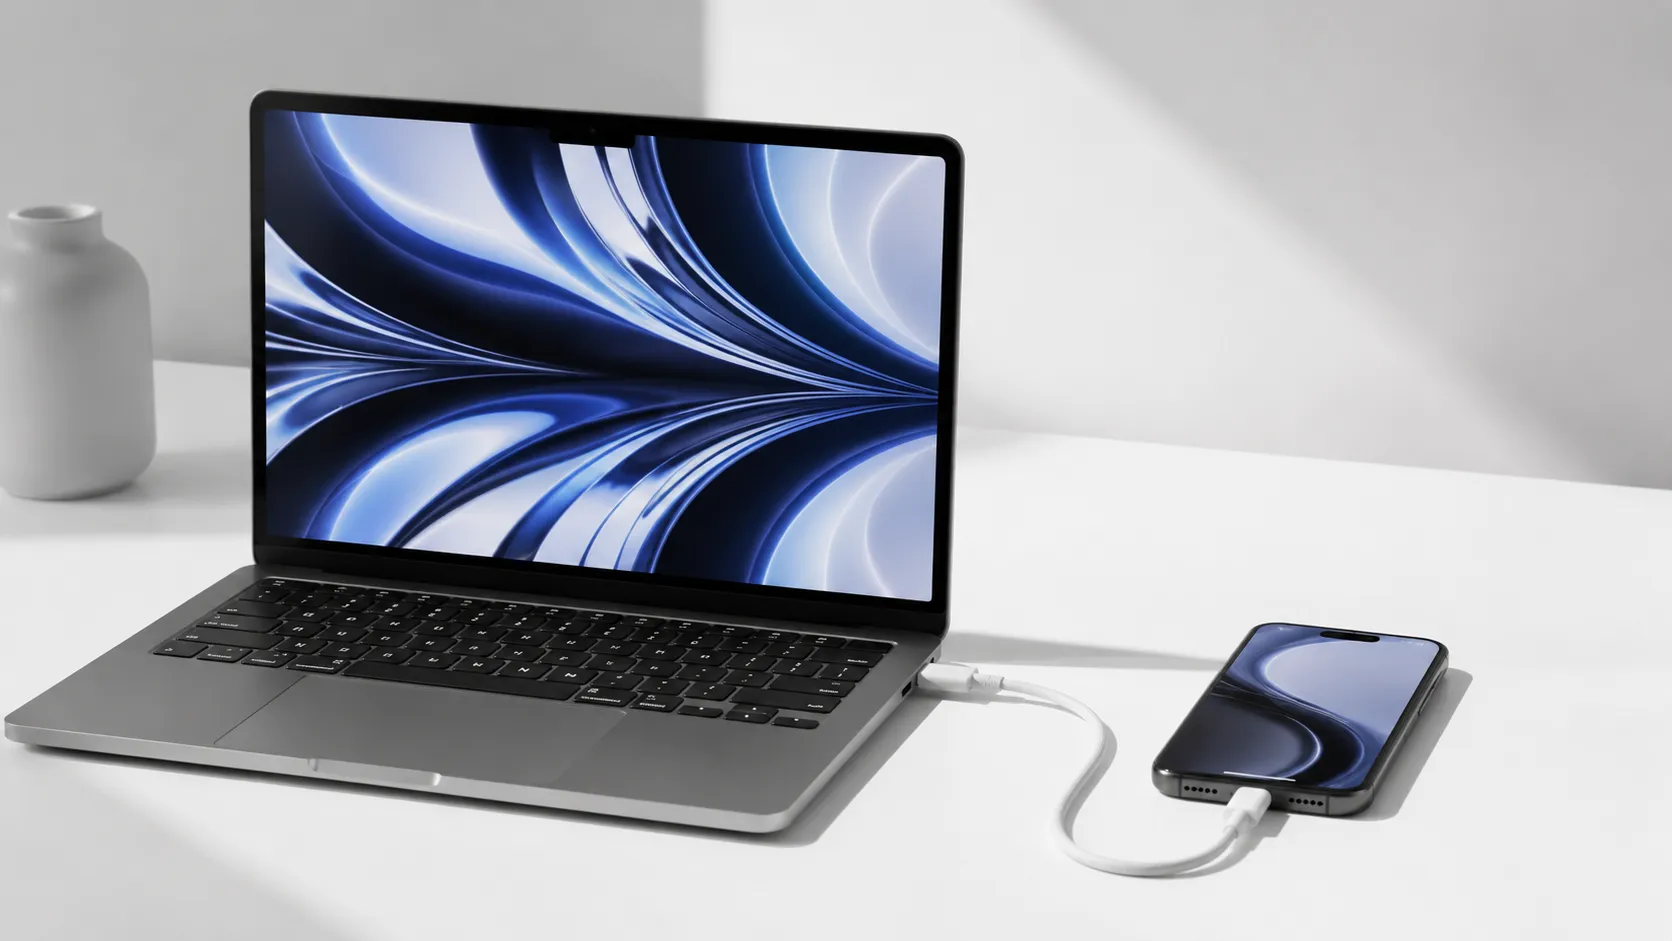
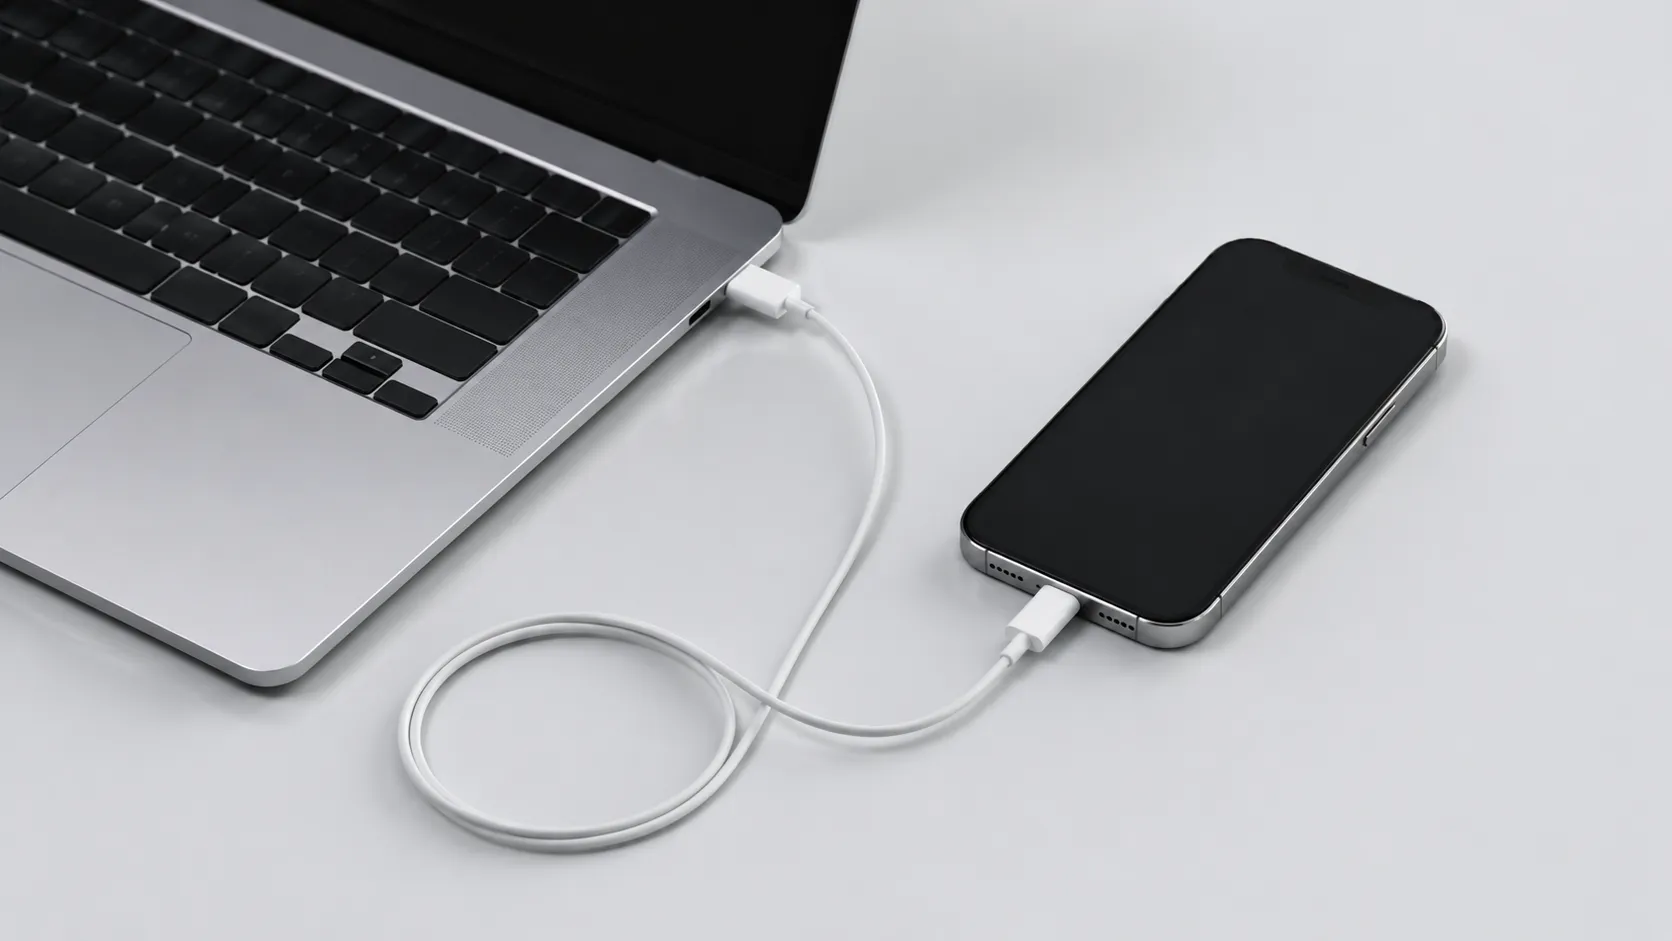
- Connect your iPhone to your Mac using a Lightning-to-USB or USB-C cable, depending on your iPhone model (iPhone 15 and later use USB-C; earlier models use Lightning).
- Wake your iPhone and tap “Trust” when prompted to trust the Mac.
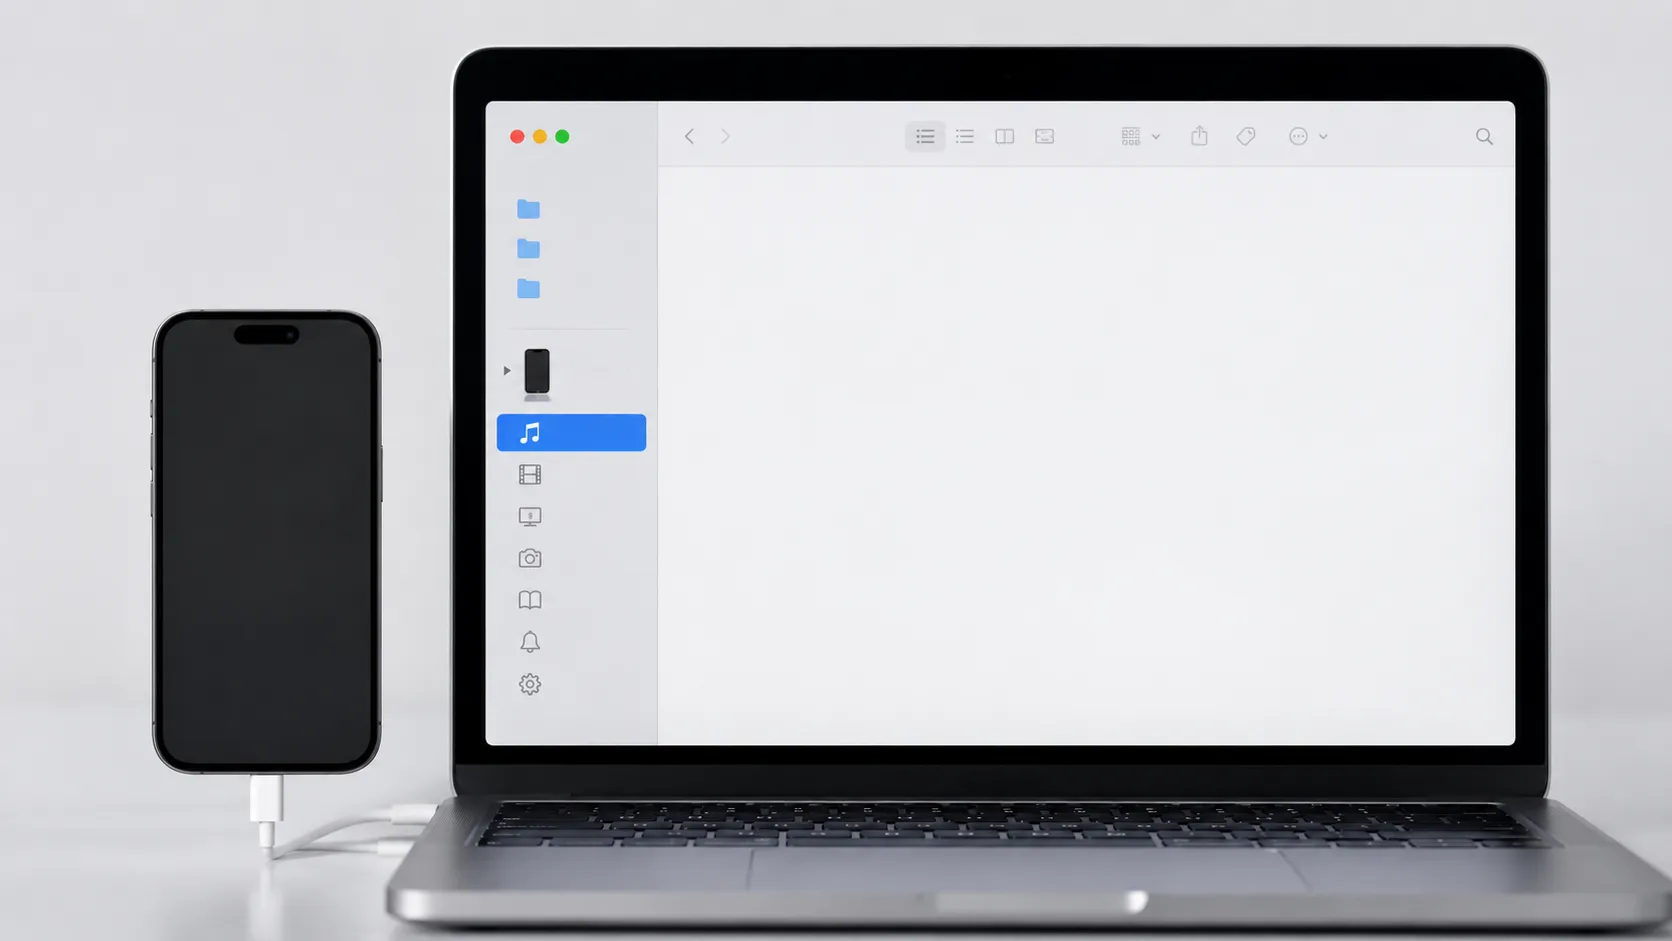
- Open Finder (not the Music app) and select your iPhone in the left sidebar under Locations.
- Click the “Music” tab in the device panel.
- Check “Sync Music onto [device name]” to see what is available, but do not click Sync yet if you want to avoid overwriting iPhone content.
- To pull specific purchased tracks from iPhone to Mac, drag them from the Finder device view into a Finder folder on your Mac, or into the Music app’s library.
Note: Finder’s sync is bidirectional in concept but destructive in practice if your Mac library differs from your iPhone library. Always back up before syncing.
For macOS Mojave 10.14 and earlier: iTunes handles the same function. Open iTunes, connect your iPhone, click the device icon in the top-left toolbar, and navigate to the Music section. The same restrictions on DRM-protected streaming tracks apply.
What Are the Free Ways to Transfer Music from iPhone to Mac?
AirDrop and VLC are both genuinely free and require no additional software purchases. However, each has a hard constraint worth understanding before you start: AirDrop is practical only for small batches of files, and VLC works exclusively with audio you have sideloaded onto your iPhone. Neither method can access purchased iTunes tracks through the Music app library, and neither touches DRM-protected Apple Music content.
AirDrop
When to use this method: AirDrop works best when you need to move a handful of sideloaded audio files quickly and both devices are nearby. It is not viable for libraries larger than a few dozen tracks.
AirDrop is Apple’s peer-to-peer file transfer protocol, using a combination of Bluetooth and Wi-Fi. It works for any audio file stored locally on your iPhone as an unprotected file.
- On your Mac, open Finder and click AirDrop in the sidebar. Set “Allow me to be discovered by” to “Everyone” or “Contacts Only.”
- On your iPhone, open the Files app or the Music app and locate the track. For files in the Files app, long-press and tap Share > AirDrop > your Mac’s name.
- Accept the incoming file on your Mac. It lands in your Downloads folder by default.
- Drag the file into the Music app on Mac to add it to your library.
AirDrop is practical for a handful of files. Transferring a library of 500 tracks this way is not a realistic approach.
VLC Wi-Fi File Sharing
When to use this method: VLC is the better free option when you have a moderate number of sideloaded files and want a browser-based drag-and-drop interface rather than individual share sheets. Both devices must be on the same Wi-Fi network.
VLC for iPhone (free on the App Store) includes a built-in Wi-Fi server that lets you drag and drop audio files between iPhone and Mac over a local network. VLC only sees files that have been added to its own app library, not tracks in Apple’s Music app.
- Open VLC on iPhone, tap the Network icon, and enable “Sharing via WiFi.”
- VLC displays a local IP address (e.g., 192.168.1.x).
- On your Mac, open any browser and navigate to that IP address.
- A web interface appears. Drag audio files from your Mac into the browser window to send them to VLC on iPhone, or use the download icons to pull files from iPhone to Mac.
VLC handles MP3, FLAC, AAC, WAV, and most common audio formats. It does not interact with the Music app’s library directly, so you will need to import files manually afterward.
When Do You Need Paid Tools to Transfer iPhone Music to Mac?
Free methods break down in three specific situations: libraries larger than a few dozen tracks, collections where playlist structure matters, and scenarios involving non-DRM tracks that Finder still cannot surface, such as voice memos or audio stored in third-party app containers. If any of those three conditions apply to you, a paid tool is not optional; it is the only path that works reliably.
iMazing
iMazing is a Mac application (from DigiDNA, based in Geneva) that connects to your iPhone over USB or Wi-Fi and presents a full file browser of your device’s contents, including the Music library. It exports tracks as MP3 or AAC files and preserves playlist structure as M3U files.
A one-time license costs $44.99 for one Mac. A free trial allows a limited number of transfers before requiring purchase. In hands-on testing, iMazing correctly identified and exported sideloaded MP3s, podcast files, and voice memos that Finder did not surface at all.
Syncios Mobile Manager
Syncios offers a free tier that covers basic music transfer from iPhone to Mac. The free version limits batch sizes and excludes some file types. The paid Pro version ($29.95) removes those limits and adds playlist export.
Comparison Table
| Method | Cost | Transfers DRM-free tracks | Transfers playlists | Works wirelessly | macOS requirement |
|---|---|---|---|---|---|
| Sync Library | Apple Music sub ($10.99/mo) | Yes (streaming access) | Yes | Yes | macOS Catalina+ |
| Finder | Free | Yes (purchased/sideloaded) | No | No | macOS Catalina+ |
| AirDrop | Free | Yes (sideloaded only) | No | Yes | macOS Mojave+ |
| VLC Wi-Fi | Free | Yes (sideloaded only) | No | Yes | Any |
| iMazing | $44.99 one-time | Yes (all non-DRM) | Yes (M3U) | Yes | macOS 10.13+ |
| Syncios Free | Free | Yes (limited batches) | No | No | macOS 10.10+ |
Which Method Should You Actually Use?
The right tool depends on your specific situation, not on which option sounds most capable in the abstract.
Use Sync Library if you subscribe to Apple Music and want your library consistent across devices with no manual steps. This is the lowest-friction path for streaming content, but it requires an ongoing subscription and does not give you local files by default.
Use Finder if you have a modest collection of purchased iTunes tracks or sideloaded files and you are on macOS Catalina or later. It is free, built in, and reliable for the content it supports.
Use AirDrop or VLC if you need to move a small number of sideloaded audio files and do not want to install anything. Both work well within their constraints.
Use iMazing if you have a large library of sideloaded or purchased tracks, you need playlists preserved, or you need to extract audio that Finder cannot see. At $44.99 one-time, it pays for itself quickly compared to the time cost of manual alternatives for libraries over 200 tracks.
Use Syncios Free if you want a no-cost third-party option for basic transfers and your library is small enough to work within its batch limits.
Troubleshooting Common Transfer Problems
Transfer issues cluster around three root causes: trust failures, OS compatibility gaps, and DRM misunderstandings.
iPhone Not Appearing in Finder
If your iPhone does not show up in Finder’s sidebar after connecting via cable, work through this sequence:
- Disconnect and reconnect the cable. Try a different USB port or a different cable (damaged cables are a common culprit).
- On your iPhone, check for the “Trust This Computer?” prompt and tap “Trust.”
- On Mac, open System Information (Apple menu > About This Mac > System Report) and check whether the iPhone appears under USB. If it does, Finder has a display bug; restart Finder by Option-clicking the Finder icon in the Dock and selecting Relaunch.
- If the device does not appear under USB at all, the cable or the iPhone’s Lightning/USB-C port may be faulty.
Sync Library Not Updating
Sync Library depends on a stable internet connection and iCloud availability. If tracks are not appearing on Mac after enabling Sync Library:
- Confirm both devices use the same Apple ID (Settings > [your name] on iPhone; System Settings > Apple ID on Mac).
- Check iCloud status at Apple’s system status page.
- On Mac, go to Music > Settings > General and toggle Sync Library off, wait 30 seconds, then toggle it back on.
- Tracks that were added while offline may take up to 24 hours to propagate.
Older Mac Compatibility
Macs running macOS Mojave 10.14 or earlier cannot use Finder for device management. iTunes 12.x handles the same role on those systems. However, iTunes 12.x on a 2010 or 2011 MacBook may not recognize iPhones running iOS 16 or later due to driver mismatches. In that scenario, AirDrop (if the Mac supports it) or VLC Wi-Fi sharing are the most reliable free options. iMazing’s macOS 10.13+ support makes it the strongest paid option for legacy hardware.
Transferred Files Are Duplicated in Music App
Dragging files into the Music app while Sync Library is active can create duplicates if the track already exists in iCloud. Before importing, check Music > File > Library > Show Duplicates. Delete duplicates from there, not from Finder, to avoid breaking library references.
What to Do After Transferring Music to Your Mac?
Getting files onto your Mac completes only half the task. A disorganized Music library creates long-term friction and makes future transfers harder. These steps lock in the work you have already done.
Consolidate the Library
If you have imported files from multiple sources, the Music app may reference files scattered across different folders. Go to File > Library > Organize Library and check “Consolidate files.” This copies all referenced audio into the single Music Media folder, making backups and future transfers predictable. Run this step before doing anything else post-import.
Check for Playlist Integrity
If you used iMazing to export playlists as M3U files, import them into the Music app via File > Import. The app will attempt to match M3U references to tracks already in your library. Mismatches appear as exclamation-mark icons next to track names. Right-click those tracks and select “Locate” to relink them manually.
Back Up Before Any Major Sync Operation
Time Machine is the most practical safeguard. Before running a full Finder sync or a large iMazing import, confirm Time Machine completed a recent backup. The Music app’s library database (stored in ~/Music/Music/Music Library.musiclibrary) is the specific file to protect. Losing this file means losing all playlist data and play counts even if the audio files themselves survive.
For broader iPhone management tips, see iPhone customization options in iOS 18 and for macOS workflow ideas that keep your music library accessible, macOS customization options covers relevant setup choices.
Key Takeaways
- Sync Library is the lowest-friction option for Apple Music subscribers, but it syncs access rather than downloading files by default.
- Finder (macOS Catalina+) or iTunes (Mojave and earlier) transfers only purchased and manually sideloaded tracks, not DRM-protected Apple Music streams.
- AirDrop and VLC Wi-Fi sharing are free and effective for small batches of sideloaded audio files only.
- iMazing ($44.99 one-time) is the most complete solution for large libraries, playlist preservation, and older macOS versions.
- Always consolidate your Music library and run a Time Machine backup before any bulk import or sync operation to avoid duplicates and data loss.
Frequently Asked Questions
Can I transfer music from iPhone to Mac without losing existing files?
Yes. Using Finder’s manual file transfer or a third-party tool like iMazing preserves your existing Mac library. Avoid using Finder’s full sync option, which overwrites iPhone content with whatever is on your Mac. AirDrop and iMazing both copy files additively without touching your existing collection.
How do I transfer music from iPhone to Mac for free?
Three free routes exist: Finder (for purchased iTunes tracks and manually added files), AirDrop (for small batches of files), and VLC’s Wi-Fi sharing feature (for MP3s and other sideloaded audio). Sync Library via iCloud is free only if you already subscribe to Apple Music or Apple One.
Why can’t I see my iPhone music in Finder?
Finder shows only tracks purchased from the iTunes Store or files you manually synced from your Mac. Apple Music streaming tracks are DRM-protected and cannot be exported via Finder. If your iPhone is not appearing at all, check that you have trusted the Mac on your iPhone and that you are running macOS Catalina 10.15 or later.
Can I transfer playlists from iPhone to Mac?
Sync Library (Apple Music) mirrors playlists automatically across devices. iMazing exports playlists as M3U files alongside the audio tracks. Finder does not transfer playlist data, only individual audio files, so you would need to rebuild playlists manually in the Music app afterward.
Does this work on older Macs that cannot run macOS Catalina?
On macOS Mojave 10.14 or earlier, iTunes handles what Finder does on newer systems. Open iTunes, connect your iPhone, click the device icon, and navigate to Music. The same limitations apply: only purchased and manually synced tracks are accessible. Third-party tools like iMazing support older macOS versions and are the most reliable option for legacy hardware.
Recommended reading
iPhone Customization Guide: Every Option in iOS 18
The complete iPhone customization guide covering home screen layouts, lock screen widgets, custom icons, iOS 18 features, and the best third-party apps.
Apple Intelligence in China Review 2026: Worth the Wait?
Apple Intelligence briefly appeared in China via a software bug. We tested it. Here's the honest verdict on Writing Tools, Clean Up, Siri, and why it still isn't officially available. Updated March 2026.
iPhone 17e Review: Essential Specs, A19 Benchmarks & Hands-On
The iPhone 17e finally corrects the biggest missteps of its predecessor, delivering MagSafe, 256GB of base storage, and the blazing-fast A19 chip for $599. W...