How to Burn a DVD on Mac: Data, Video & ISO Guide
Why Burning DVDs on a Mac Is Harder Than It Used to Be
Apple quietly made DVD burning a two-step problem. First, every Mac sold since roughly 2012 ships without an optical drive. Second, Apple discontinued iDVD, the one built-in tool that could author a video DVD playable in a living-room player, and it has never been replaced in macOS. The result: burning a DVD on a Mac in 2025 requires an external drive, the right blank media, and software that Apple no longer ships.
That said, the task is absolutely doable. Finder handles data discs natively. The free, open-source Burn app handles video DVDs. And Disk Utility covers ISO images. This guide walks through each scenario with exact steps, flags the real compatibility problems on newer macOS versions, and tells you when a paid tool is actually worth the money.
Data DVD vs. Video DVD: Understanding the Difference
A data DVD is simply a disc that stores files, the same way a USB drive does. macOS Finder burns these natively, and the resulting disc mounts on any computer with an optical drive. A video DVD, by contrast, must follow the DVD-Video specification: the disc needs a VIDEO_TS folder containing MPEG-2 encoded video streams (.VOB files), navigation data (.IFO), and backup files (.BUP). Without that structure, a standalone DVD player will not recognise the disc.
This distinction matters because many users burn an MP4 or MOV file to disc using Finder and then wonder why their TV’s DVD player ignores it. The file is there, but the player is looking for a VIDEO_TS folder it will never find. For playback on a computer, a data burn is fine. For playback on a dedicated player, you need video DVD authoring software.
convert your video files to the right format before burning
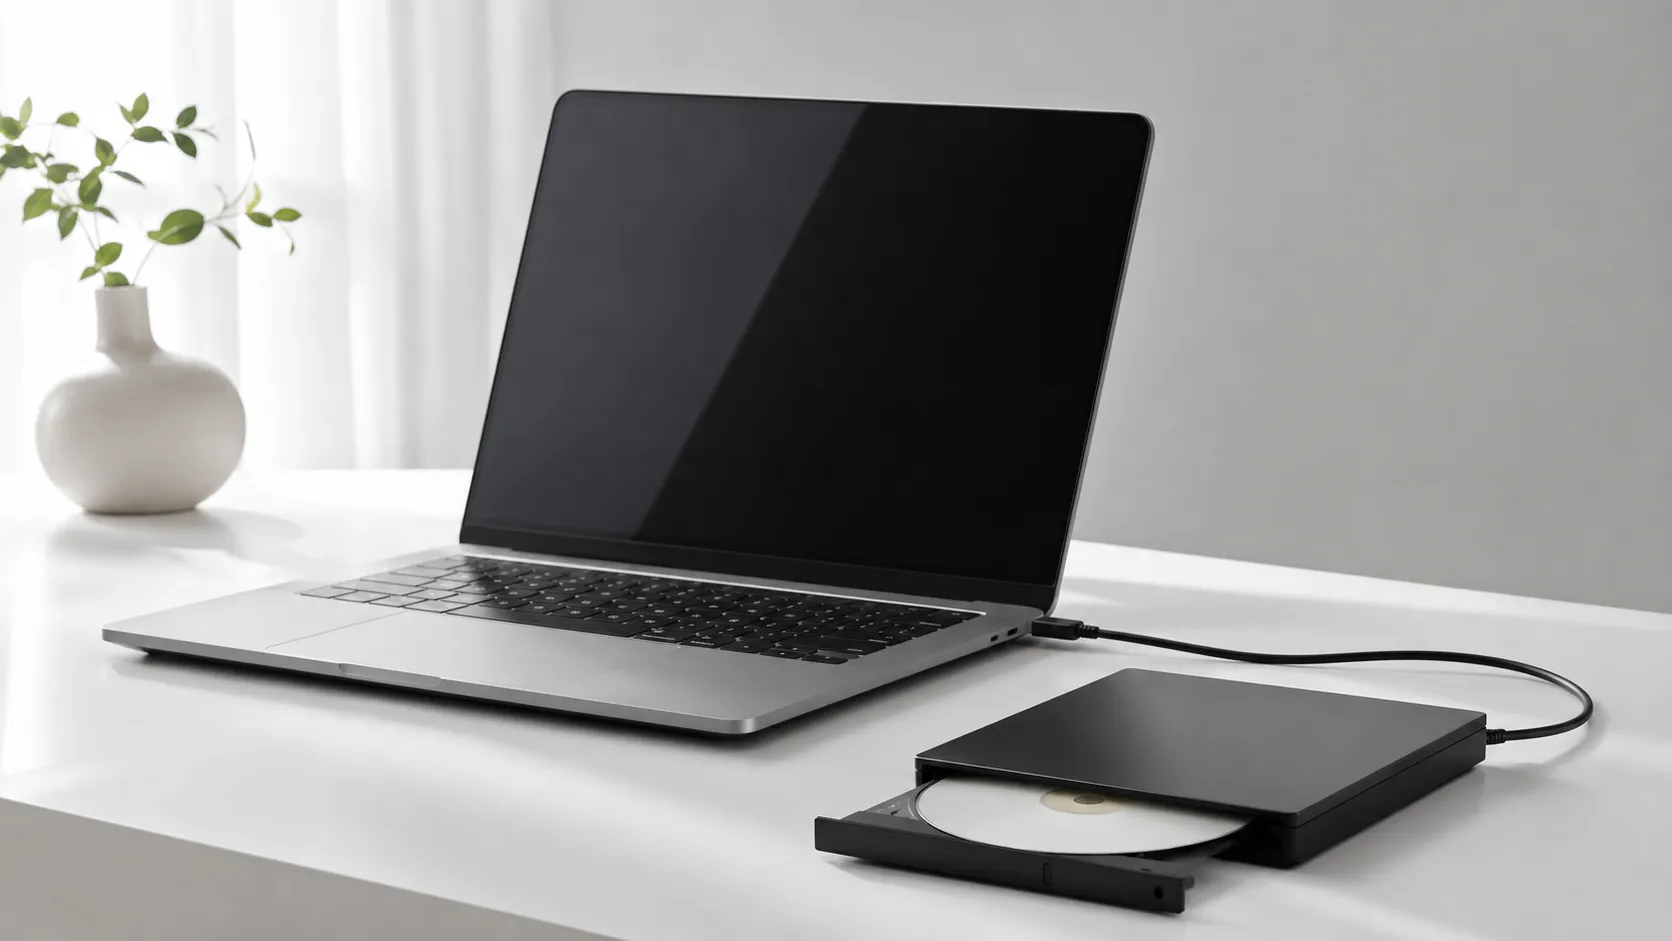
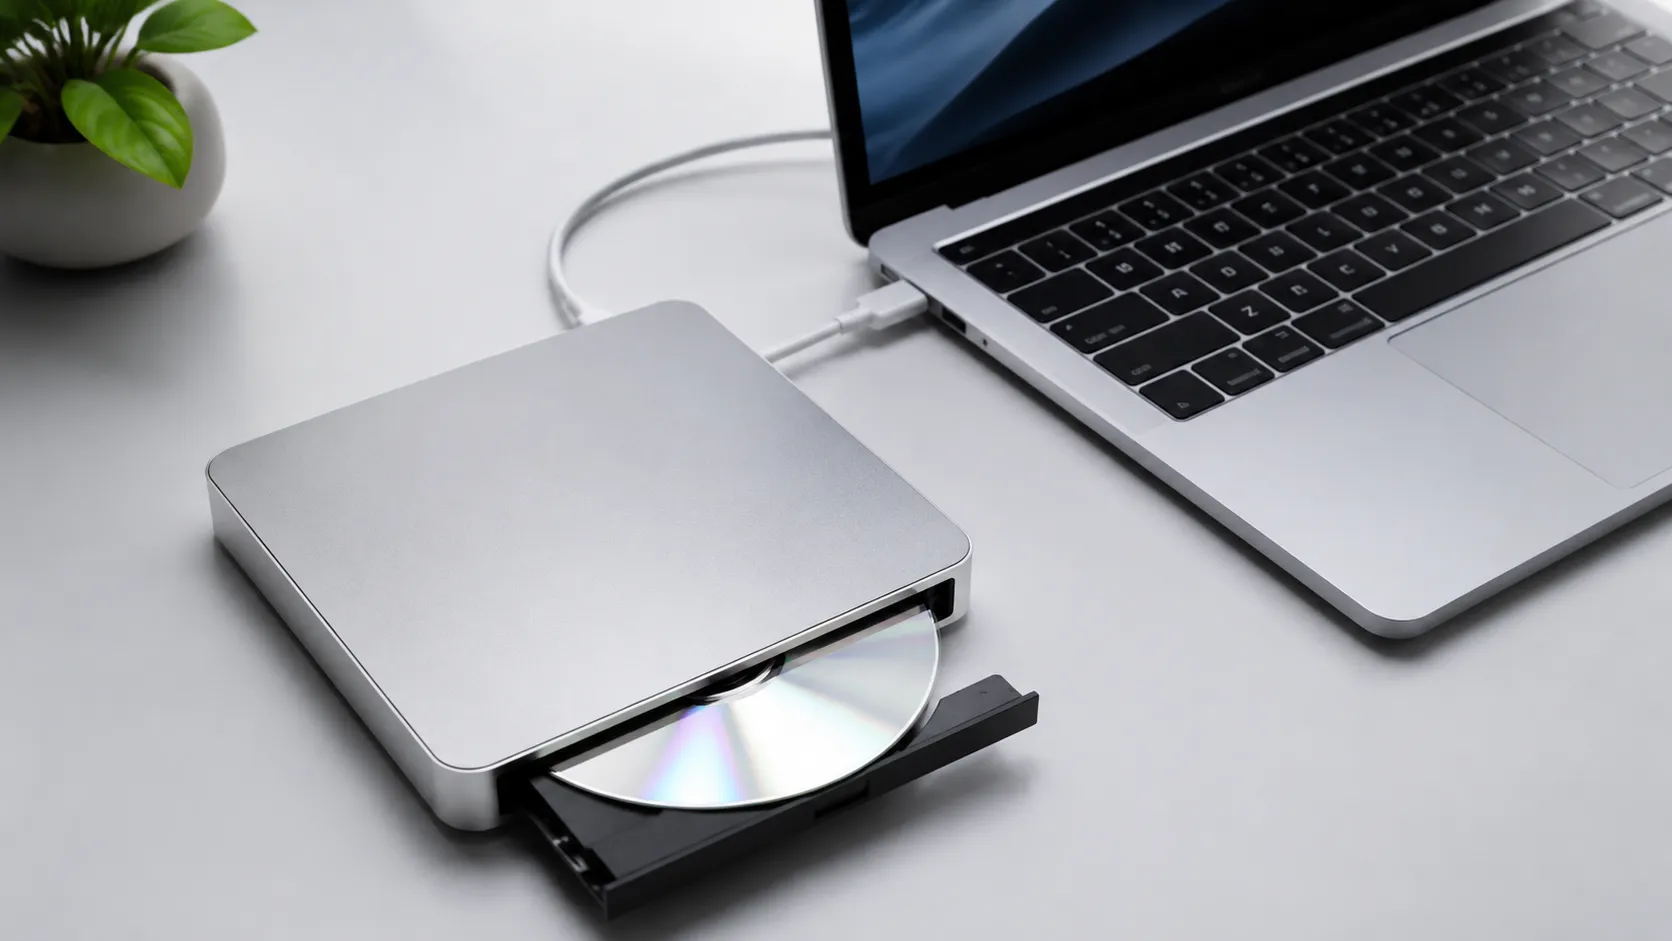
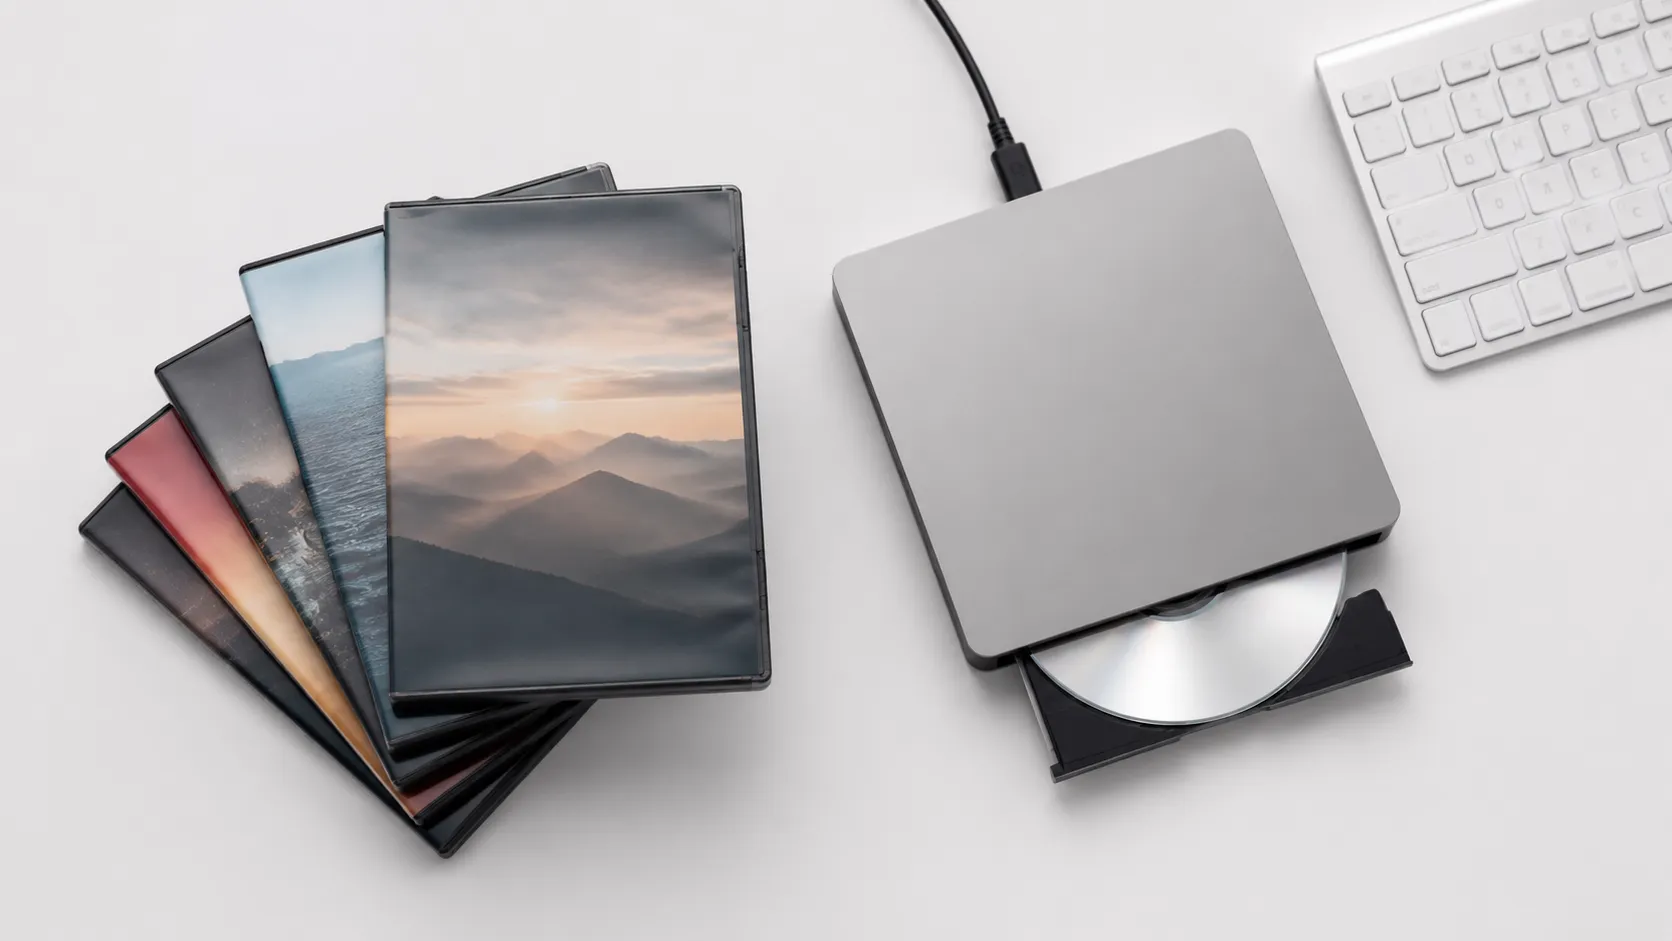
Essential Hardware: External Drives and Blank Media
Every current Mac, from the M4 MacBook Air to the Mac Studio, requires an external optical drive to burn DVDs. Apple’s own USB SuperDrive connects via USB-A, so owners of newer MacBooks with only USB-C ports also need an adapter or a USB-C native drive such as the LG GP60NB50. Both options work without additional drivers on macOS.
For blank media, the choice matters more than most guides admit:
| Disc Type | Compatibility | Write Speed | Archival Life | Typical Cost (per disc) |
|---|---|---|---|---|
| DVD-R | Broadest (all players) | Up to 16x | 10-25 years | $0.25-$0.50 |
| DVD+R | Wide (post-2004 players) | Up to 16x | 10-25 years | $0.25-$0.50 |
| DVD+R DL (dual layer) | Good (most modern players) | Up to 8x | 10-25 years | $1.00-$1.50 |
| M-Disc DVD-R | Wide (all M-Disc drives) | Up to 4x | 1,000+ years (rated) | $1.50-$2.50 |
For general use, Verbatim DVD-R 4.7 GB discs at 16x are a reliable, widely tested choice. For archiving family photos or irreplaceable documents, M-Disc is worth the premium. Hands-on testing and community reports consistently show that no-name budget discs produce higher error rates and more failed burns, particularly on macOS.
How to Burn a Data DVD on Mac Using Finder
Finder’s built-in burn feature works on every macOS version including Sequoia. It is the simplest path when you only need to store files, not create a playable video disc.
Using a Burn Folder (Recommended)
Apple’s official support documentation describes burn folders as aliases, meaning the original files stay in place until you actually burn the disc. This is safer than dragging files directly.
- Open Finder and go to File > New Burn Folder.
- Name the folder and drag files or folders into it. Each item appears as an alias.
- Insert a blank DVD into your external drive.
- Click the Burn button inside the burn folder window.
- Choose your burn speed (8x or lower reduces error rates) and click Burn.
Burning Directly from Finder
- Insert a blank DVD. A dialog will ask what to do with the disc; choose Open Finder.
- Drag files directly onto the disc icon in the Finder sidebar.
- When ready, right-click the disc icon and choose Burn Disc.
- Confirm the disc name and speed, then click Burn.
Finder does not transcode video. An MP4 file burned this way is stored as an MP4, not as DVD-Video. Keep that distinction in mind.
How to Burn a Video DVD on Mac Using the Free Burn App
The Burn app is a free, open-source, Unix-based utility available from burn-osx.sourceforge.io. It handles data, audio, video, and copy projects, and it is the most commonly recommended free tool for creating player-compatible video DVDs on Mac. Version 2.5.1 is the current release.
Important caveat: community reports and hands-on testing both confirm instability on macOS 14 Sonoma and macOS 15 Sequoia. If you are on either of those versions, test with a cheap disc first. On macOS 12 Monterey and macOS 13 Ventura, the app runs reliably.
Step-by-Step: Burning a Video DVD with the Burn App
- Download Burn from the official SourceForge page and drag it to your Applications folder. macOS may prompt you to allow it in System Settings > Privacy & Security.
- Open Burn and click the DVD tab at the top of the window.
- Select Video from the format dropdown (not Data).
- Click the + button and add your video files. Burn accepts MOV, MP4, AVI, and MPEG-2 natively, though it transcodes non-MPEG-2 formats internally, which adds time.
- Arrange the titles in the order you want them to appear. Burn provides a basic menu system when multiple files are added.
- Insert a blank DVD-R and click Burn.
- In the dialog that appears, set the burn speed to 4x or 8x. Slower speeds reduce the chance of read errors on standalone players.
- Click Burn and wait. A 4.7 GB disc at 4x takes roughly 15 minutes to write and verify.
If your source video is in MP4 or MOV format and Burn fails to transcode it, convert it to MPEG-2 first using a dedicated Mac video converter before importing into Burn. This extra step eliminates the most common cause of blank or unplayable discs.
Burning an ISO or Disk Image to DVD
Burning an ISO is the one scenario where macOS’s built-in tools work perfectly, even for video content, provided the ISO already contains a valid DVD-Video structure.
Method 1: Disk Utility
- Insert a blank DVD.
- Open Disk Utility (Applications > Utilities > Disk Utility).
- From the menu bar, choose Images > Burn.
- Navigate to your ISO or .dmg file and click Open.
- Click Burn.
Method 2: Terminal (one-line command)
Open Terminal and run:
hdiutil burn /path/to/your-image.isoReplace the path with the actual location of your file. macOS will detect the inserted blank disc automatically. This method works on every macOS version from High Sierra through Sequoia.
Paid Software: When It’s Worth Buying
Two paid tools dominate the Mac DVD burning space: Roxio Toast Titanium and DVDStyler (free but more complex). Toast Titanium, currently at $59.99 for a perpetual licence from Roxio’s site, is the most capable option and receives regular macOS compatibility updates, making it the safest choice on Sonoma and Sequoia. It handles Blu-ray as well as DVD, supports chapter markers, and offers polished menu templates.
| Software | Price | macOS Sequoia Support | Video Formats | Menu System |
|---|---|---|---|---|
| Finder (built-in) | Free | Yes | Data only | None |
| Burn app 2.5.1 | Free | Unstable | MOV, MP4, AVI, MPEG-2 | Basic |
| DVDStyler 3.2 | Free | Partial | MOV, MP4, AVI, MPEG-2 | Full custom |
| Toast Titanium | $59.99 | Yes (updated regularly) | All major formats | Professional templates |
For users who burn DVDs occasionally, the Burn app is adequate on supported macOS versions. For anyone burning regularly, producing discs for clients, or running Sequoia, Toast Titanium’s update cadence justifies the price. DVDStyler sits in the middle: more capable menus than Burn, but a steeper learning curve and less consistent macOS support.
export your iMovie project to a compatible format before authoring your DVD
Troubleshooting Common DVD Burning Problems on Mac
DVD burning fails in predictable ways. Here are the most common issues and their fixes.
Disc not recognised after burning. The most frequent cause is burning a data disc when the player expects DVD-Video. Confirm you used the Video mode in Burn or Toast, not the Data mode.
Burn app crashes or fails on macOS Sequoia. This is a known compatibility issue with version 2.5.1. Workarounds include: running Burn in Rosetta 2 (right-click the app > Get Info > Open using Rosetta), downgrading to macOS Ventura on a secondary partition, or switching to Toast Titanium.
Disc burns but skips or freezes on playback. This almost always indicates a media quality issue or a burn speed that was too high. Re-burn at 4x using Verbatim or Taiyo Yuden discs.
“The disc can’t be burned because the device failed to calibrate the laser power level.” This error means the drive and disc combination is incompatible. Try a different brand of blank DVD, or test with a known-good drive.
MP4 files won’t import into Burn. Some H.264 MP4 files encoded with certain profiles confuse Burn’s transcoder. Use HandBrake (free, from handbrake.fr) to re-encode the file to MPEG-2 at 6,000-8,000 kbps before importing.
Burned disc plays on Mac but not on TV player. Some older players only read DVD-R, not DVD+R. Check your player’s manual and switch disc format accordingly.
Advanced Tips: Burn Speed, Disc Longevity, and Format Selection
Burn speed is the most underappreciated variable in DVD burning. A 16x-rated disc burned at 16x produces more write errors than the same disc burned at 8x or 4x, because the laser has less time to accurately form each pit. For archival burns, 4x is the standard recommendation across optical disc communities.
For long-term storage, store burned discs vertically in jewel cases, away from UV light and temperature extremes. Pressed (commercially manufactured) DVDs last decades under normal conditions. Burned DVD-R discs, depending on dye quality and storage, can degrade in as few as 5 years under poor conditions. M-Disc uses a rock-like inorganic layer that does not rely on organic dye, which is why its rated lifespan is categorically different.
If you are archiving video for the long term, consider pairing physical discs with a cloud or NAS backup. sharing archived files between Mac and Windows is straightforward if you format the data disc as ISO 9660 (Joliet) rather than Mac OS Extended.
For dual-layer content (feature films over 4.7 GB), use DVD+R DL rather than DVD-R DL. DVD+R DL has better layer-break handling in most drives and produces fewer mid-disc read errors.
Alternatives to DVD Burning
Burning a DVD is sometimes the right tool, but often it is not. If your goal is archiving, a modern NAS (network-attached storage) with RAID redundancy or a service like Backblaze ($99/year for unlimited personal backup) offers more reliable long-term storage than optical media. If your goal is sharing video with family, a private YouTube link or an AirDrop transfer is faster and requires no physical media.
That said, some use cases genuinely call for a disc: playing video on a living-room player that has no streaming capability, submitting physical media for a film festival, or creating a keepsake disc for a relative who does not use a computer. For those scenarios, the workflow described above is the most practical path available on macOS in 2025.
ripping DVDs on Mac is the reverse operation and equally useful if you want to digitise a disc collection before the drive fails.
Key Takeaways
- Every current Mac requires an external USB or Thunderbolt optical drive to burn any disc. Apple’s SuperDrive and third-party USB-C drives both work without additional drivers.
- Finder burns data DVDs natively on all macOS versions, but it cannot create a VIDEO_TS structure that standalone players recognise.
- The free Burn app (version 2.5.1) is the most practical free tool for video DVDs, but it is unstable on macOS Sequoia. Use it on Ventura or Monterey for reliable results.
- Burn at 4x or 8x regardless of disc rating. Slower speeds produce fewer errors and longer-lasting discs.
- For ISO images, macOS Disk Utility and the Terminal command
hdiutil burnhandle the job without any third-party software. - Paid tools like Toast Titanium ($59.99) are the pragmatic choice for users on Sequoia or anyone burning discs regularly for distribution.
Frequently Asked Questions
Do modern Macs have a built-in DVD drive?
No. Apple removed the built-in SuperDrive from MacBooks starting around 2012 and from the iMac shortly after. To burn a DVD on any current Mac you need an external USB or Thunderbolt optical drive. Apple’s own USB SuperDrive (model MD564LL/A) works out of the box, but third-party drives from brands like LG or Samsung are equally compatible and often cheaper.
Can macOS Finder burn a video DVD that plays in a living-room DVD player?
No. Finder can only burn data DVDs, which store files as-is. A standard DVD player requires a VIDEO_TS folder structure with MPEG-2 encoded video and IFO/VOB files. You need a dedicated authoring tool such as the free Burn app or a paid option like Toast Titanium to produce a player-compatible video disc.
Is the Burn app safe to use on macOS Sequoia?
The Burn app (version 2.5.1 at the time of writing) is open-source and free from SourceForge, so there are no malware concerns with the official download. However, real-world reports indicate instability on macOS 14 Sonoma and macOS 15 Sequoia, including failed burns and occasional crashes. Running it on macOS 12 Monterey or macOS 13 Ventura produces more reliable results.
Which blank DVD format should I buy: DVD-R, DVD+R, or M-Disc?
DVD-R is the safest choice for broad compatibility with older standalone players. DVD+R offers slightly better error correction and works fine with most drives made after 2004. M-Disc (Millennial Disc) uses an inorganic recording layer rated for 1,000+ years of archival stability, making it the right pick for irreplaceable photos or documents, though it costs roughly four times as much per disc.
How do I burn an ISO image to DVD on a Mac without third-party software?
macOS includes a built-in command via Disk Utility. Insert a blank disc, open Disk Utility (Applications > Utilities), go to Images > Burn, select your ISO file, and click Burn. Alternatively, open Terminal and run: hdiutil burn /path/to/image.iso. Both methods work on macOS Ventura and earlier without any extra software.
Recommended reading
Best Free Image Viewer for Mac in 2025: 7 Apps Ranked
Find the best free image viewer for Mac in 2025. We compare Preview, Pixea, XnView MP, qView, and more on speed, format support, and RAW handling.
Best Free Screen Recorder for Mac in 2025
Find the best free screen recorder for Mac: built-in tools, no-watermark third-party apps, OBS Studio setup, and audio capture tips for every skill level.
Best Mac Themes 2025: Customize macOS Like a Pro
Discover the best Mac themes, tools, and customization methods for macOS. Wallpapers, icon packs, widgets, dark mode tips, and app recommendations.