Best Free Screen Recorder for Mac in 2025
The Built-in Option Every Mac User Already Has
Apple ships two screen recording tools with every modern Mac, and most users never notice them. Both are free, produce no watermarks, and impose no time limit on recordings.
QuickTime Player
QuickTime Player is Apple’s native media application, available in every macOS installation since Mac OS X 10.0. To start a screen recording, open QuickTime Player and choose File > New Screen Recording. A control bar appears letting you select the whole screen or a dragged region, choose a microphone source, and toggle whether mouse clicks show on screen.
QuickTime saves recordings as .mov files using the H.264 codec by default. On Apple Silicon Macs running macOS Ventura 13 or later, you can switch the output to ProRes in System Settings for archival-quality captures. The limitation that frustrates most people: QuickTime cannot capture internal system audio without a third-party driver (more on that below).
The Screenshot Toolbar (Shift + Command + 5)
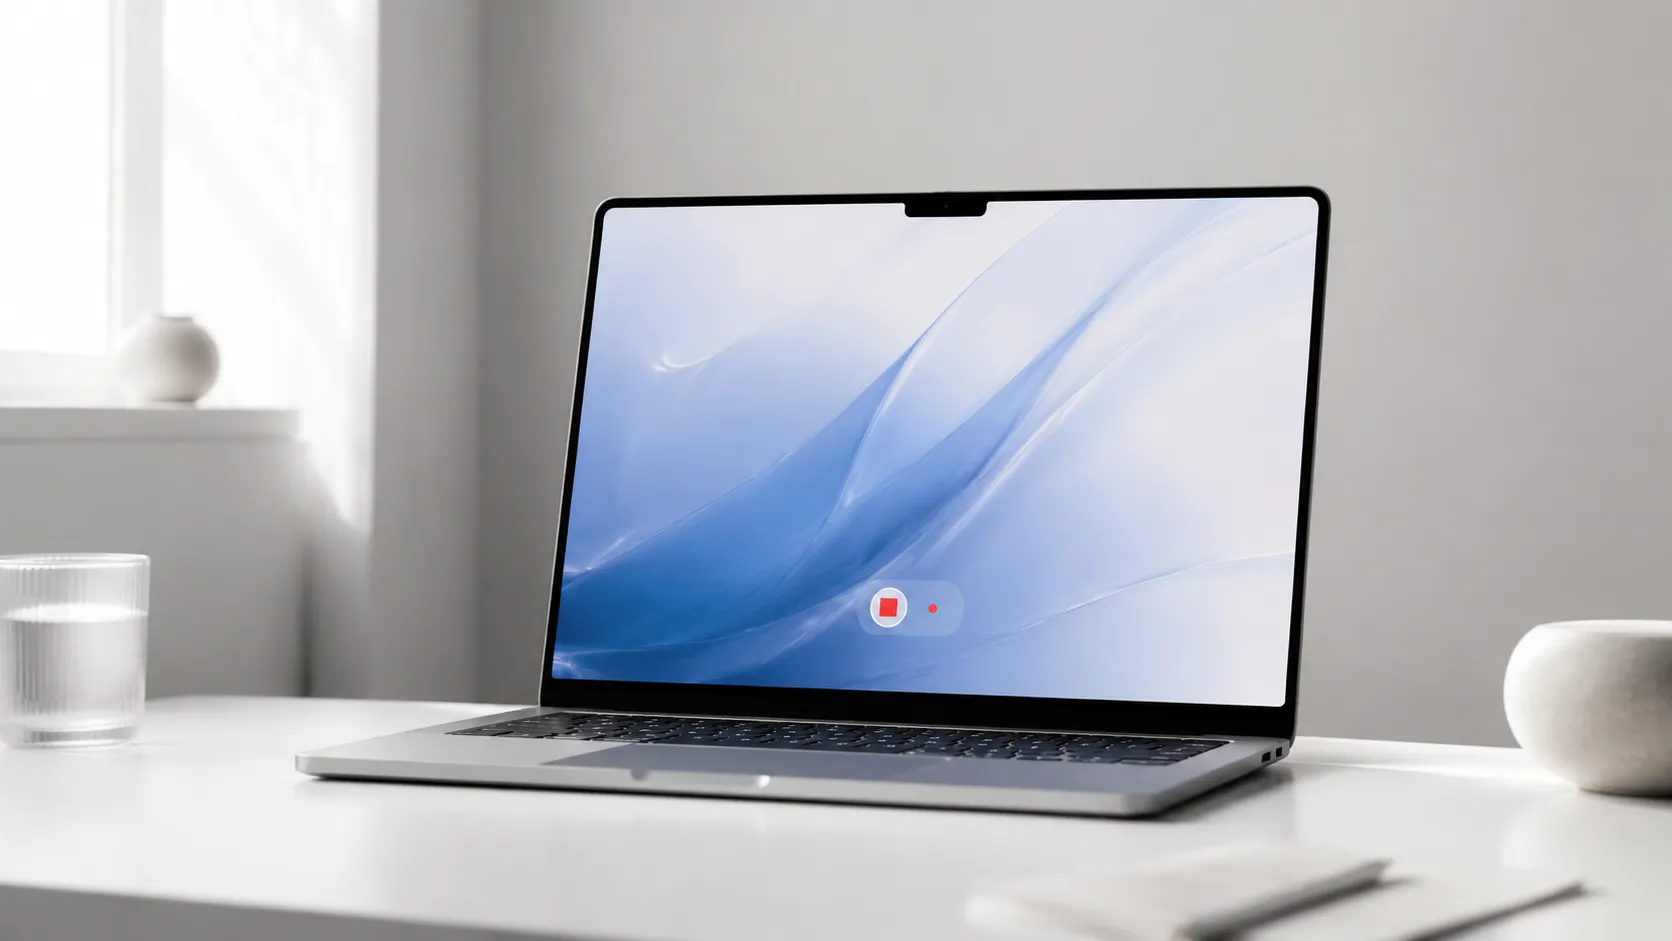
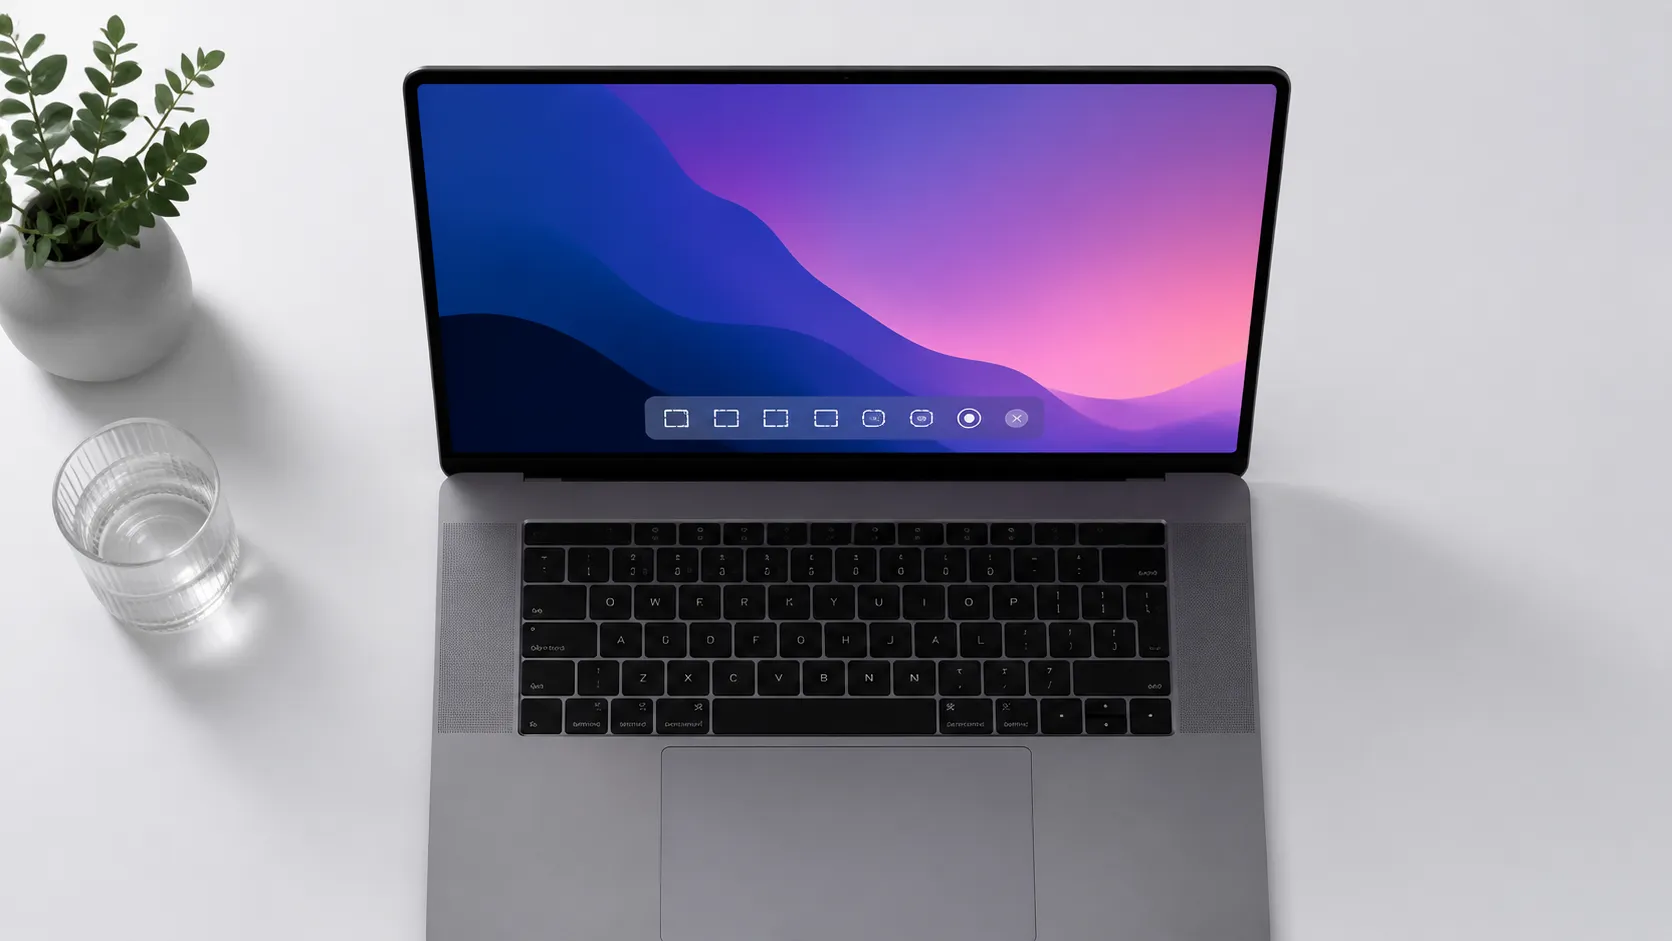
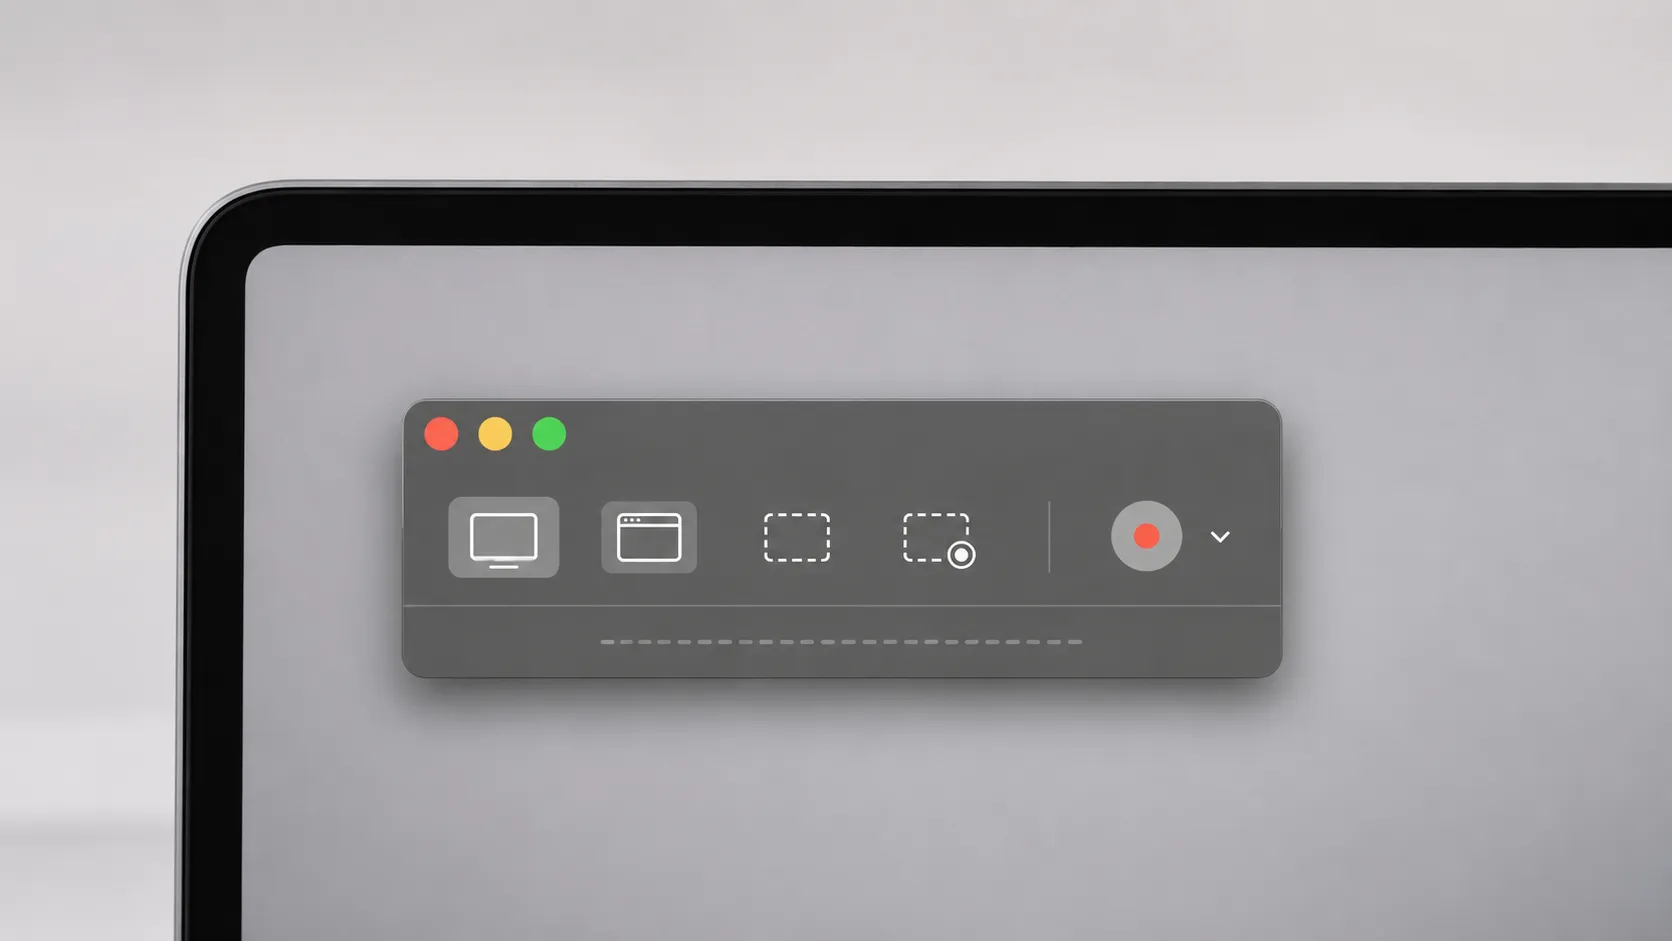
Apple’s Screenshot tool is accessed by pressing Shift + Command + 5, which opens a floating toolbar at the bottom of the screen. Options include full-screen capture, window capture, region capture, full-screen video recording, and region video recording. It is the fastest way to grab a quick clip without opening any application.
The toolbar also lets you set a timer delay (5 or 10 seconds), choose where files save, and pick a microphone. Output goes to .mov by default. Like QuickTime, it captures microphone audio but not system audio unless you add a virtual audio device.
customize your Mac recording environment for cleaner-looking captures
Top Free Third-Party Screen Recorders for Mac
When the built-in tools fall short, a handful of third-party apps fill the gap without charging a cent or stamping a watermark on your work.
OBS Studio
OBS Studio (Open Broadcaster Software) is 100% free, open-source, and runs on macOS, Windows, and Linux. It is the industry standard for streaming and recording among content creators, and it has no time limits, no watermarks, and no feature paywalls. The trade-off is complexity: first-time users must create a Scene, add a Display Capture source, and configure an audio mixer before recording anything.
Hands-on testing shows OBS handles 4K 60fps capture on M-series Macs without dropped frames, and it natively supports BlackHole for system audio routing. For anyone producing YouTube tutorials, gaming content, or software demos, OBS is the ceiling of what free software delivers.
ScreenPal (formerly Screencast-O-Matic)
ScreenPal is a cross-platform recorder with a genuinely approachable interface. The free tier allows recordings up to 15 minutes, includes a basic video editor, and offers secure video hosting. It does add a small watermark to exported files on the free plan, which is the main reason to look elsewhere for professional output.
For educators recording short lesson clips or anyone who needs a hosted shareable link within seconds, ScreenPal’s free tier is practical. Upgrading to the Solo plan removes the watermark and the 15-minute cap.
Loom
Loom is a browser-based and desktop recording tool that targets async communication. The free plan allows watermark-free recording for quick video messages and stores clips in the cloud. As of 2024, Loom’s free tier limits video length and storage, so it suits short team updates more than long tutorials.
Real-world reports from users switching from Zoom recordings to Loom note that the automatic link-to-clipboard feature after recording saves meaningful time when sharing clips in Slack or email.
How to Record Screen and Audio on a Mac for Free
Capturing system audio (the sounds your apps make) is the most common sticking point. Here is the complete process using QuickTime Player plus BlackHole, the free virtual audio driver from Existential Audio.
- Download and install BlackHole 2ch from existential.audio (free, open-source, requires a macOS restart or audio server reload).
- Open Audio MIDI Setup (found in /Applications/Utilities/) and click the + button at the bottom left, then choose Create Multi-Output Device.
- In the Multi-Output Device, check both your normal output (e.g., MacBook Pro Speakers) and BlackHole 2ch. This lets you hear audio while also routing it to the virtual driver.
- Open System Settings > Sound > Output and set the output to your new Multi-Output Device.
- Open QuickTime Player, choose File > New Screen Recording, and set the microphone input to BlackHole 2ch.
- Click Record. QuickTime now captures both screen visuals and internal system audio.
- When finished, press Command + Control + Esc (or click Stop in the menu bar) and save the file.
Note: when you switch your system output to the Multi-Output Device, volume keys on the keyboard stop controlling speaker volume directly. Switch back in System Settings after recording.
edit and convert your screen recording after capture
Comparing the Best Free Mac Screen Recorders
Choosing the right tool depends on your use case. The table below covers the five most relevant free options across the criteria that matter most.
| Tool | Watermark | Time Limit | System Audio | Webcam Overlay | Best For |
|---|---|---|---|---|---|
| QuickTime Player | None | None | With BlackHole | No | Quick clips, ProRes archiving |
| Screenshot Toolbar | None | None | With BlackHole | No | Instant region/screen grabs |
| OBS Studio | None | None | With BlackHole | Yes (PiP) | Streaming, tutorials, gaming |
| ScreenPal (free) | Yes | 15 minutes | Yes (built-in) | Yes | Short lessons, hosted sharing |
| Loom (free) | None | Yes (varies) | Yes (browser tab) | Yes | Async team communication |
Verdict by use case: For zero restrictions and professional output, OBS Studio wins outright. For users who want something that works in under two minutes without configuration, QuickTime Player or the Screenshot toolbar is the right starting point.
Advanced Capabilities: OBS Studio in Depth
OBS Studio rewards the time investment. Once past the initial setup, it offers capabilities that paid tools charge $50-100 per year to match.
Scenes and Sources
A Scene in OBS is a saved layout of Sources (display capture, window capture, webcam, images, browser windows). You can build multiple scenes and switch between them during a recording, which is useful for tutorials that alternate between a slide deck and a terminal window.
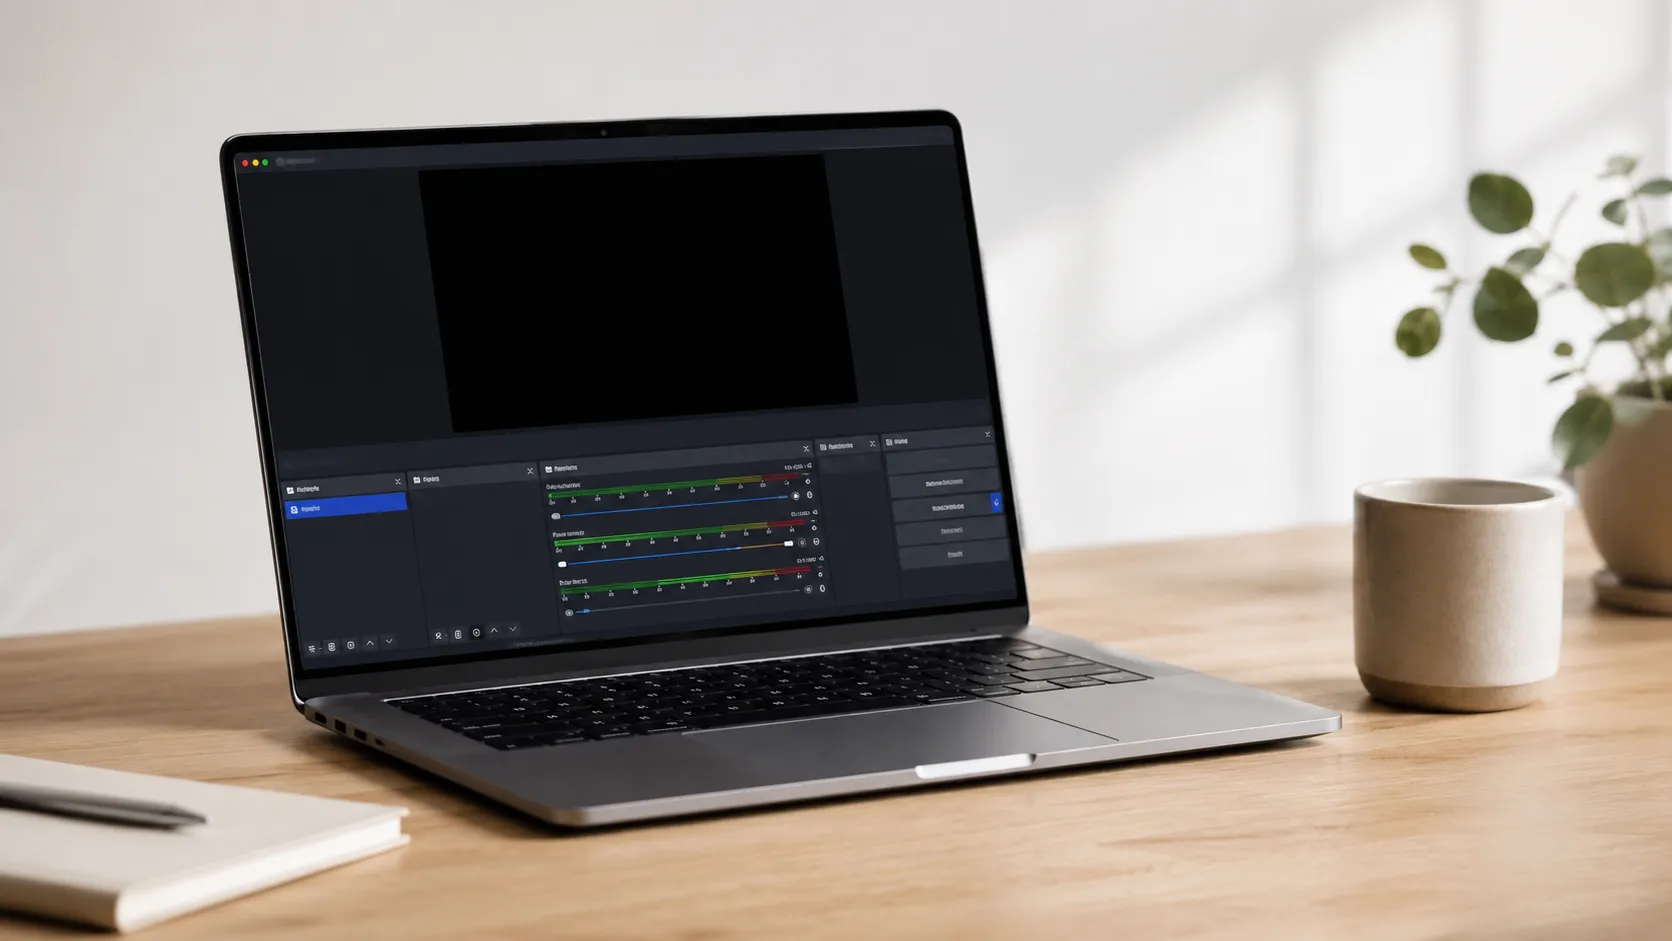
Audio Mixing
OBS includes a per-source audio mixer with volume faders, mute buttons, and support for VST audio filters. In practice, this means you can apply a noise gate to your microphone and a compressor to your system audio in the same session, all for free.
Output Settings for Mac
For screen recording (not streaming), set OBS to Recording mode in Settings > Output. Choose the Apple VT H264 Hardware Encoder on Apple Silicon for efficiency, or x264 Software for maximum compatibility. Recording in .mkv and then remuxing to .mp4 (OBS has a built-in remux tool) protects against file corruption if OBS crashes mid-session.
understand export formats before choosing your recording codec
Choosing the Right Tool for Your Skill Level
Not every Mac user needs OBS. Here is a direct mapping of tool to user type.
Beginners and casual users: Start with Shift + Command + 5. It requires no installation, no configuration, and produces clean .mov files. If you need to share the clip, AirDrop it or upload it directly to iCloud Drive.
Intermediate users making tutorials or YouTube content: QuickTime Player with BlackHole gives you system audio and no watermark. Pair the recording with Mac video editing tools to trim and export in the format you need.
Advanced users, streamers, and developers: OBS Studio is the only free tool that handles multi-scene recording, audio mixing, and simultaneous streaming. The learning curve is real but finite: most users are comfortable after two or three sessions.
Users who want automatic zoom on cursor interactions: This feature, which several users specifically seek out, is not available in any free tool at a professional level. Screen Studio ($89 one-time) is the paid option built for that workflow. Free alternatives do not replicate it reliably.
Common Problems and How to Fix Them
Free screen recorders on Mac produce predictable failure modes. Here are the most reported issues and their solutions.
No system audio in QuickTime recordings. This is the default macOS behavior, not a bug. Install BlackHole 2ch and follow the Multi-Output Device steps above.
OBS shows a black screen on Display Capture. On macOS Ventura 13 and later, OBS requires Screen Recording permission. Go to System Settings > Privacy & Security > Screen Recording and enable OBS. Restart OBS after granting permission.
Screen recording stops after a few minutes for no reason. This is often a storage issue. macOS pauses recordings when disk space drops below a threshold. Check available storage in Apple menu > About This Mac > Storage.
Performance drops during recording on older Macs. OBS’s software encoder (x264) is CPU-intensive. Switch to the Apple VT H264 Hardware Encoder in OBS Settings > Output > Recording. On Macs with Apple Silicon, this offloads encoding to the Neural Engine and has a negligible performance impact.
Microphone audio is out of sync with video. This happens when the recording framerate is inconsistent. In OBS, set a fixed framerate (30 or 60fps) in Settings > Video rather than using a variable rate. QuickTime does not expose framerate controls, so switching to OBS is the practical fix.
Some users have reported screen recording permission prompts or unexpected behavior after upgrading to macOS 26 (Tahoe), which began developer beta testing in 2025. If you upgrade early, check that all recording apps have been re-granted Screen Recording access in Privacy & Security settings.

Making the Right Choice for Your Mac Setup
The best free screen recorder for Mac is the one that matches your actual workflow, not the one with the longest feature list. Apple’s built-in tools handle the majority of everyday recording tasks without installing anything. OBS Studio handles everything else at zero cost, with the trade-off of a learning curve that most users clear within an afternoon.
System audio capture remains the one area where macOS requires extra steps. BlackHole solves it cleanly and for free. Once that piece is in place, the built-in or OBS workflow matches what paid tools offer for most use cases.
see how Apple Silicon handles demanding tasks like high-framerate screen recording
Key Takeaways
- Shift + Command + 5 opens the macOS Screenshot toolbar, the fastest built-in screen recorder with no watermark and no time limit.
- QuickTime Player (File > New Screen Recording) adds region selection and microphone input, and supports ProRes output on Apple Silicon.
- System audio capture requires BlackHole, a free virtual audio driver, because macOS does not route internal audio to screen recordings by default.
- OBS Studio is the strongest free third-party option: no watermark, no time limit, multi-scene recording, audio mixing, and webcam overlay support.
- ScreenPal suits beginners who need a hosted shareable link quickly but accept a 15-minute cap and watermark on the free plan.
Frequently Asked Questions
Does macOS have a built-in free screen recorder?
Yes. macOS includes two built-in options: QuickTime Player (File > New Screen Recording) and the Screenshot toolbar, opened with Shift + Command + 5. Both are free with no watermarks or time limits. Neither records internal system audio without a third-party audio driver.
How do I record internal audio on a Mac for free?
macOS does not route system audio to screen recordings by default. The most reliable free workaround is installing BlackHole, a free open-source virtual audio driver, which lets QuickTime or OBS Studio capture app sounds. OBS Studio also supports BlackHole natively once configured.
Which free Mac screen recorder has no watermark and no time limit?
QuickTime Player, the macOS Screenshot toolbar, and OBS Studio all record without watermarks and impose no time limit. ScreenPal’s free tier caps recordings at 15 minutes and adds a small watermark to exports.
Is OBS Studio hard to use on a Mac?
OBS Studio has a steeper learning curve than QuickTime or ScreenPal. Initial setup requires creating a Scene and adding a Display Capture source, which takes about 10 minutes to learn. Once configured, it handles multi-source recordings, audio mixing, and streaming that no other free Mac tool matches.
Can I record my screen on a Mac with a webcam overlay for free?
OBS Studio supports picture-in-picture webcam overlays at no cost. ScreenPal’s free tier also allows a webcam overlay during recording. QuickTime Player cannot combine screen and webcam feeds in a single recording natively.
Recommended reading
Best Free Image Viewer for Mac in 2025: 7 Apps Ranked
Find the best free image viewer for Mac in 2025. We compare Preview, Pixea, XnView MP, qView, and more on speed, format support, and RAW handling.
Best Mac Themes 2025: Customize macOS Like a Pro
Discover the best Mac themes, tools, and customization methods for macOS. Wallpapers, icon packs, widgets, dark mode tips, and app recommendations.
How to Burn a DVD on Mac: Data, Video & ISO Guide
Learn how to burn a DVD on Mac using Finder, the free Burn app, and third-party tools. Covers data DVDs, video DVDs, ISOs, and troubleshooting tips.